Following the Photos

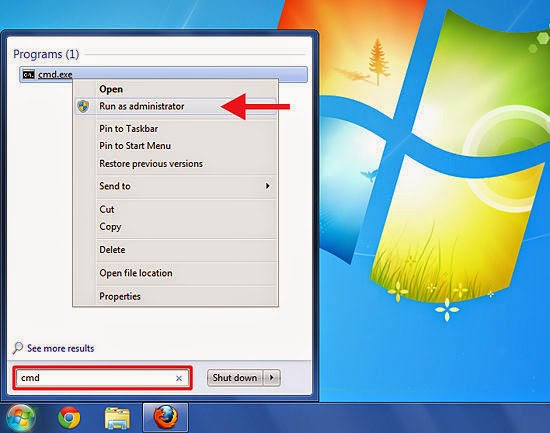
1 Open the Command Prompt. You will need to run Command Prompt as an Administrator. Right-click on it and select Run as Administrator. You may need to enter the Administrator password.
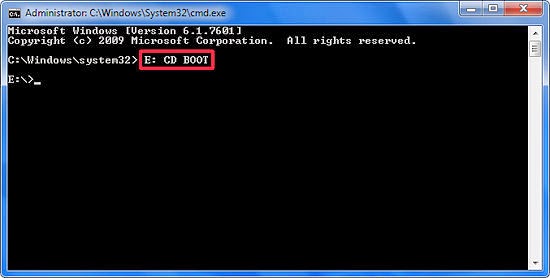
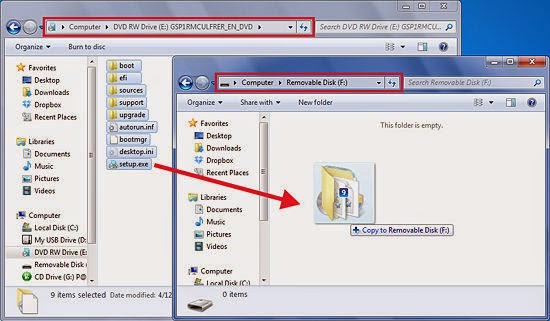
This method will create a USB drive that is bootable. You can then copy the contents of an operating installation disc onto the drive to create a portable installation drive.
This method only works in Windows Vista, 7, and 8.
This method will create a USB drive that is bootable. You can then copy the contents of an operating installation disc onto the drive to create a portable installation drive.
This method only works in Windows Vista, 7, and 8.
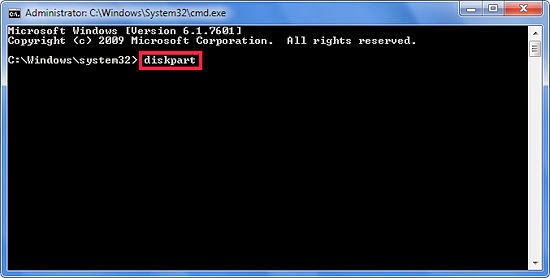
2 Open the disk management utility. This can be opened by entering the commanddiskpart.
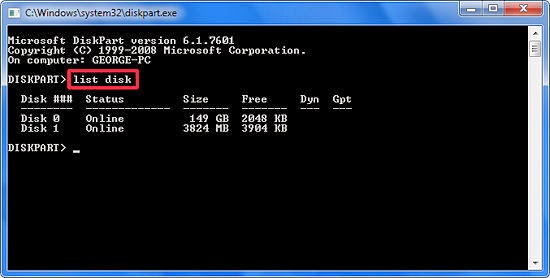
3 Display the connected disks. Type the command list disk to show a list of all the drives connected to your computer. Your USB drive should be listed here as well. Make note of the number next to your USB drive.
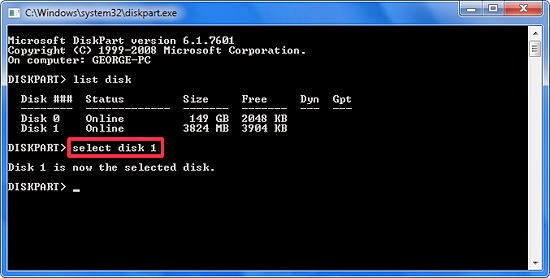
4 Select the USB drive. Enter the command select disk #, replace “#” with the number from the previous step.
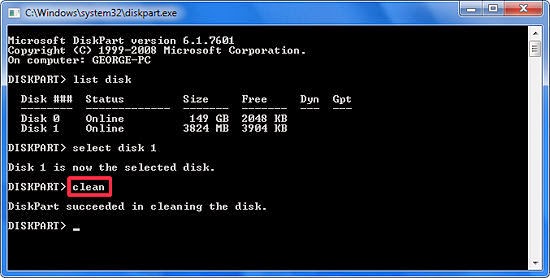
5 Clean the flash drive. Enter the command clean to have the disk management utility verify the integrity of the USB drive, and erase all data.
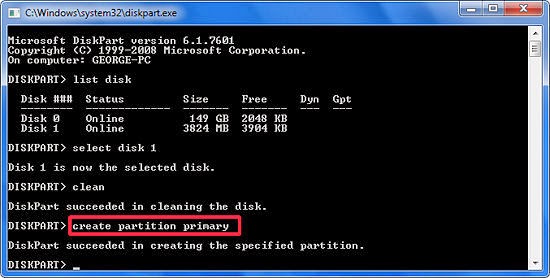
6 Create a bootable partition. Once the USB drive is clean, type in create partition primary. You will see a message saying that the operation was successful.
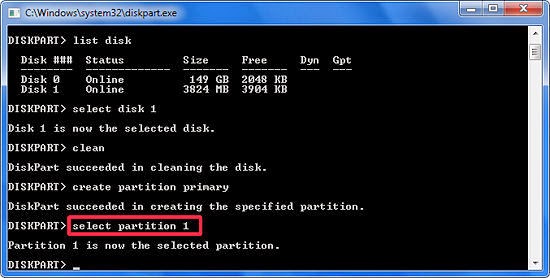
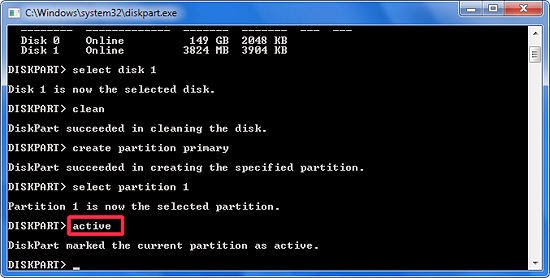
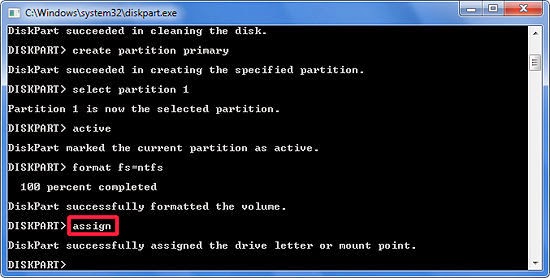
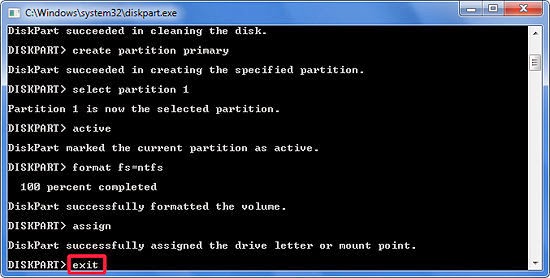
7 Select the new partition. Enter the command select partition 1 and press Enter. Once you receive a confirmation message, type active and press Enter. This will activate the partition.

8 Format the USB drive. Input the command format fs=fat32. When you press Enter, the program will work for a few minutes (if it is a small USB, e.g. 32Gb could actually take hours to SLOW format), and the progress will be displayed as a percentage.